Setup:
Day-to-day usage of the flash drive is as easy as plugging in the stick and launching VirtualBox
Download the free VirtualBox player. Install on your computer. VirtualBox is available for Windows, Mac and Linux.
Double click on the .vbox file in the flash drive virtual machine folder
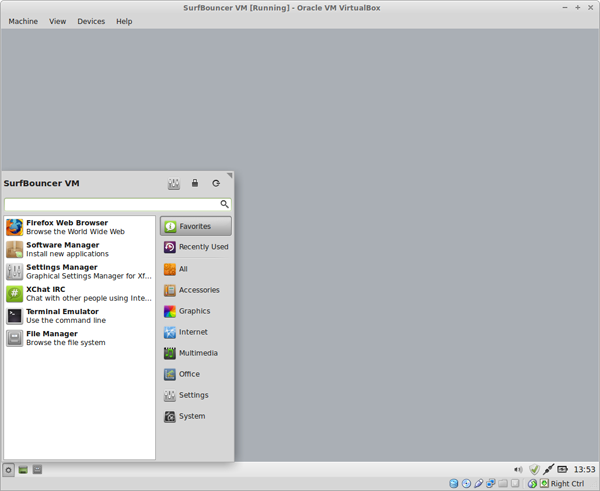
The virtual machine will launch as shown below
Log into the VIrtual Machine:
Enter the machine encryption password we provided.

Click on SurfBouncer VM and then enter the user password we provided. This is also your root password for Linux

This is the default software menu of the machine
Set up the VPN connections:
All the SurfBouncer Personal VPN connections are installed on the machine. All you need to do is enter your user name and password for each connection you wish to use.
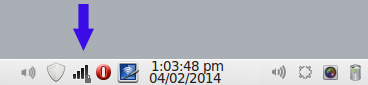
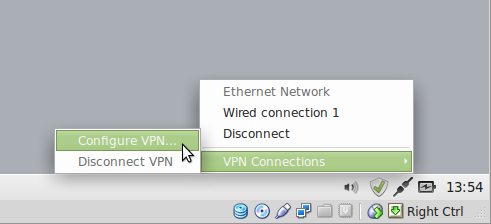
Click on the Network Manager icon in the task bar. Click on VPN Connections. Click on Configure VPN
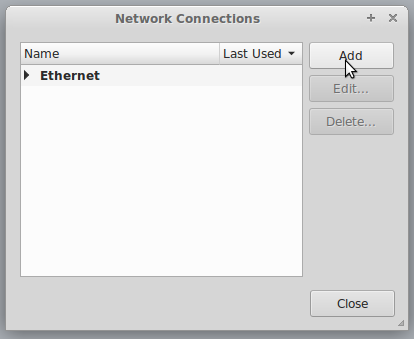
Click on Add
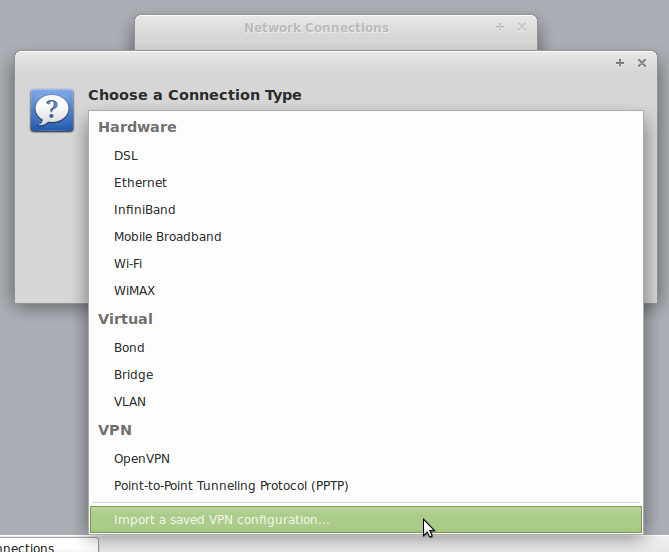
Click on Import a saved VPN configuration
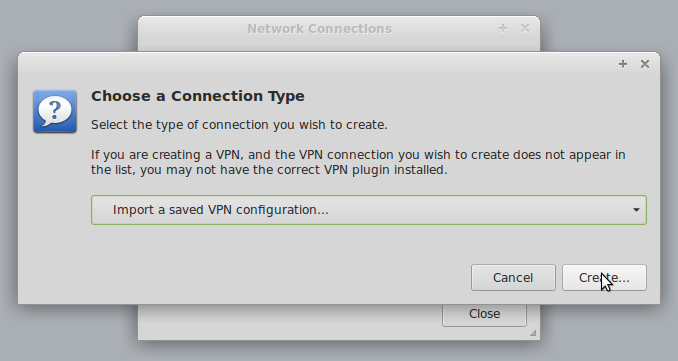
Click on Create
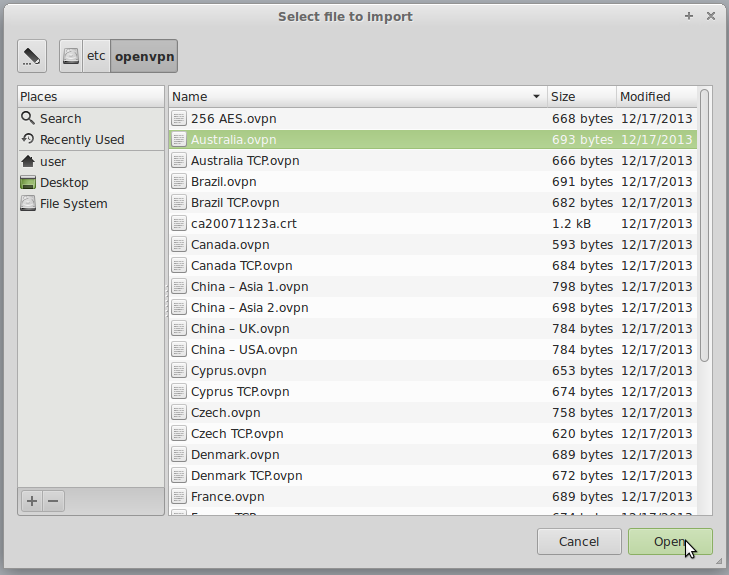
Pick one of the connections you wish to use.
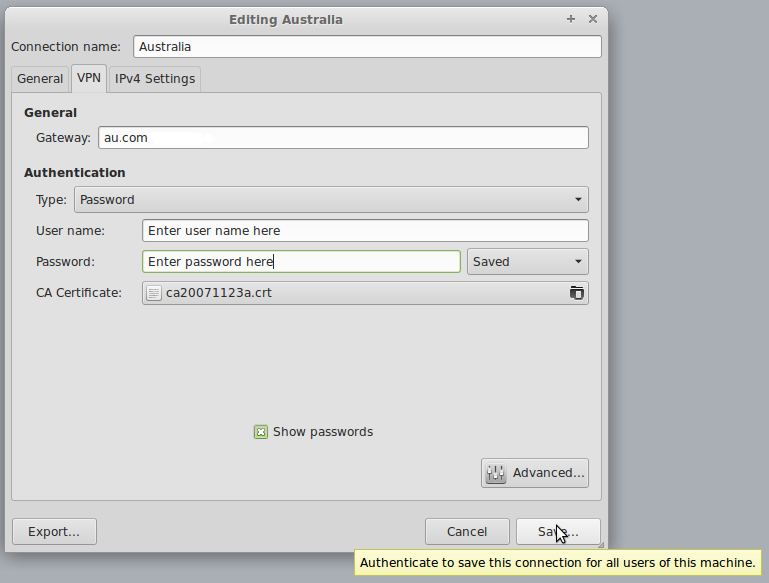
Enter your SurfBouncer Personal VPN user name and password where shown below
Repeat the above steps for as many connections as you wish to use. You can always add more later.
To connect to the VPN:
Click on the Network Manager icon. Click on VPN Connections. Pick a connection
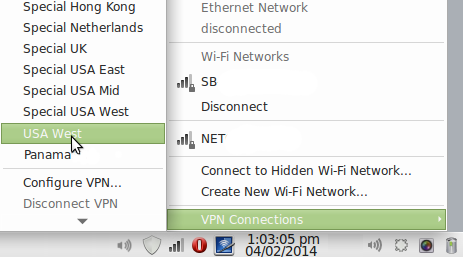
When the Network Manager icon shows the lock as below you are connected.