Configuring the Personal VPN on Linux Mint and Ubuntu variants. Other flavors of Linux are similar.
1 – Send us an email for the configuration files.
2 – Using Software Manager install OpenVPN and OpenVPN Connection Manager.
3 – Create a folder named openpvn in your home directory
4 – Unzip and paste the configuration files into the openvpn folder.
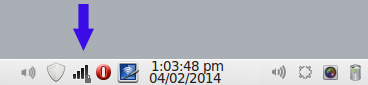
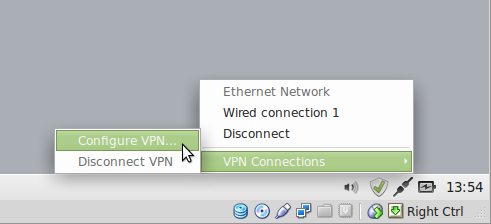
5 – Click on the Network Manager icon in the task bar. Click on VPN Connections, then click on Configure VPN
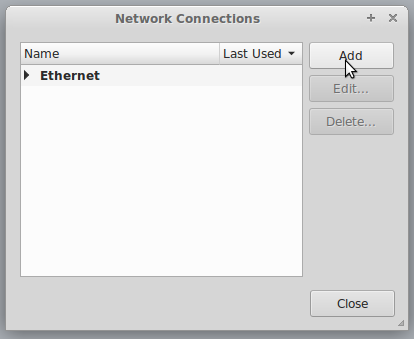
Select Add
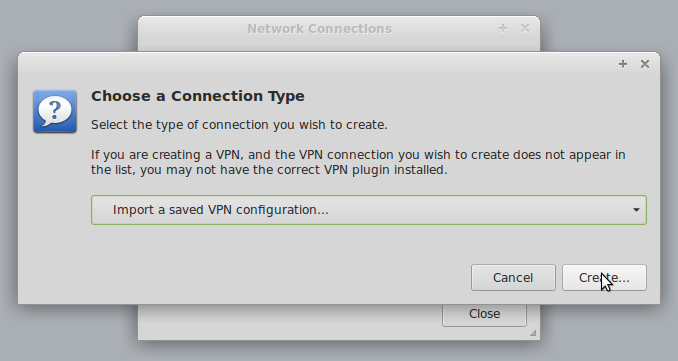
Click on ‘Import a saved VPN configuration’
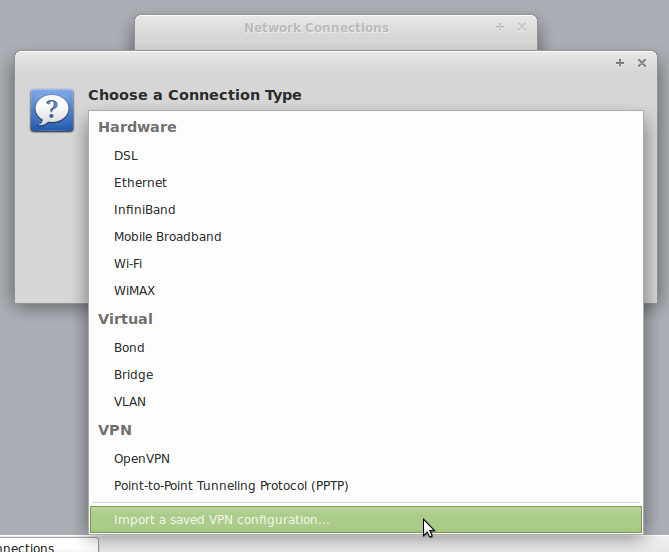
Then Create
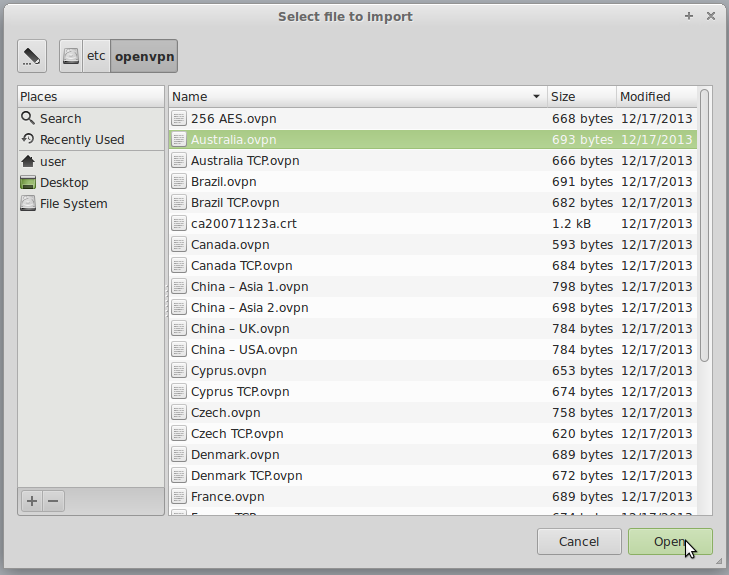
Select one of the connections you want to use.
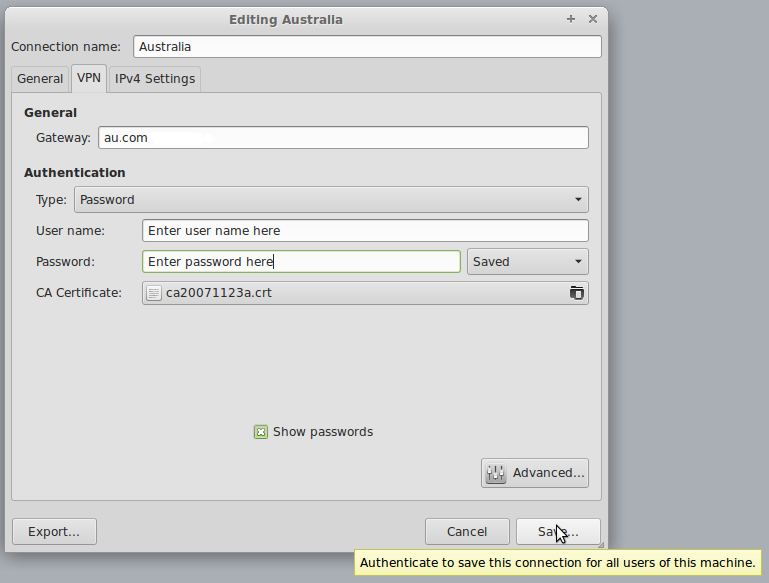
Insert your SurfBouncer Personal VPN username and password, as shown below
Repeat the steps above for all the connections you wish to use. You can always add additionnal connections later.
To connect to the VPN:
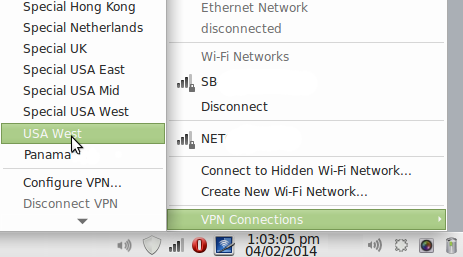
Click on the Network Manager icon, then click on VPN Connections. Select a connection
When the Network Manager icon shows the lock as seen below, you are connected.