To change your Personal VPN DNS entries on Windows 7, 8 and 10 (also Vista and XP):
See screen shots for Windows 10 at the bottom of the page.
Go to Start – Control Panel – Network and Internet – Network and Sharing Center – Change Adapter Settings
Another method on WIndows 8 – Place the mouse in the upper right corner of the screen – Click on Settings – Network and Internet – Network and Sharing Center – Change Adapter Settings
For Vista (Control Panel – Network and Sharing Center – Manage Network Connections)
For XP (Control Panel – Network Connections)
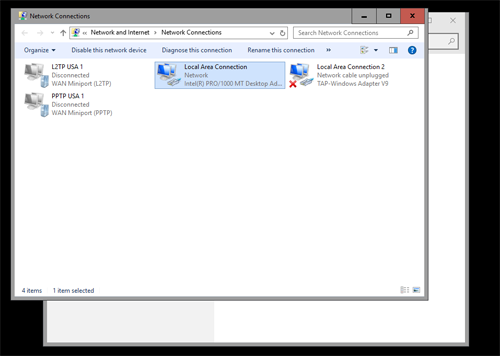
You will see a screen similar to this:
Right-click on the adapter you wish to change the DNS for then click on ‘Properties’
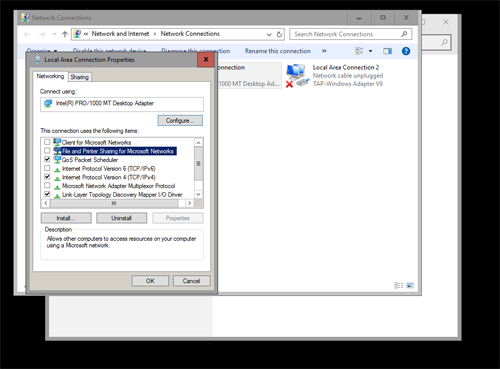
The following screen will appear:
Double-click on ‘Internet Protocol Version 4’ as shown by the red arrow
Be sure to uncheck IPv6 as shown to prevent leaks via IPv6.
The following screen will appear:
Click on ‘Use the following DNS server addresses’
Enter the 2 DNS addresses we provide as shown by the red arrows
Click on ‘OK’
Click on ‘OK’ again
Repeat the above steps for all the adapters that you need to change based on our instructions to you.
Reboot the computer
To return to your original settings, repeat the process and check the “Obtain DNS server address automatically” button shown in the image above.
Windows 10 screen shots:
Network Settings
Change DNS

Disable IPv6 to prevent DNS leakage and dropped connections.