After ordering, you will receive an email within a few hours (or sooner) with your SurfBouncer user name and password. Please be patient. Many times it takes a few hours for the transaction to clear the credit card processor, especially for overseas orders. Also, To protect your privacy and personal information to the maximum our VPN authentication servers are not tied to the SurfBouncer web site or order pages. This ensures that there is no connection between the order pages and the actual secure VPN servers. Other VPN companies that provide for instant setup of the purchase have been hacked recently and their users information including email addresses and identities stolen. With our system you may have to wait a few hours for your account to be set up. But you can be assured that your VPN credentials and connection are completely secure.
Note: Orders are processed between 7:00 AM to 10 PM (7:00 and 22:00 hours) US Pacific time (GMT – 8). If you are ordering during the hours that our order processing department is closed, rest assured that your order will be processed first thing in the morning.
If you are using an automated spam protection system that requires verification be sure to add our domain (surfbouncer.com) to your white list. If you do not receive your user credentials within a few hours check your spam box in case it was erroneously put there. If it’s not there send us an email.
Download and set up:
1) Download the software from the links provided in the email we sent you with your user credentials
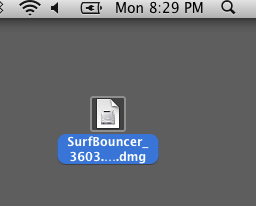
The default locations for downloads on the Mac is the ‘Downloads’ folder. If your machine is set to default, go to Finder / Your User Name / Downloads and drag the file to the desktop
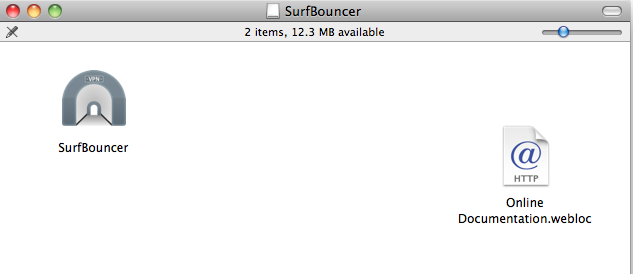
Double-click ‘SurfBouncer-Tunnelblick’ to start the installation
This screen will appear. Double-click ‘Tunnelblick’
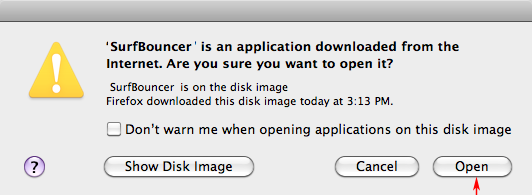
2) Close the above window & click ‘Open’ on this screen
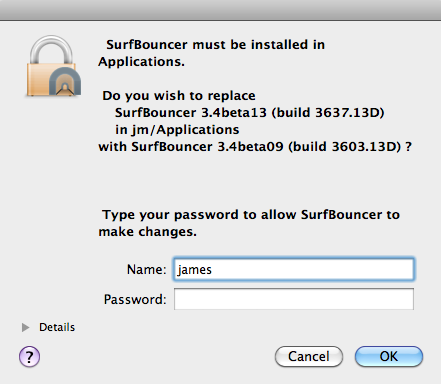
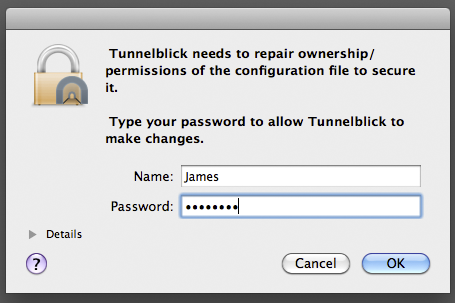
3) If the screen below pops up — enter your Mac user name and password
4) You will see this ‘Installation succeeded’ screen — click ‘Launch’ to start Tunnelblick
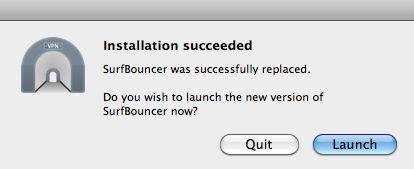
4a) If you see a screen asking to use your confidential keychain information click on ‘Always Allow’. It will ask it twice. Once to allow Tunnelblick to use the Mac keychain for the user name and once to save the password.
5) Click on the Tunnelblick icon as shown in the image below
Check to see if the configurations are showing
If not, click on the icon and select ‘Quit’
Restart Tunnelblick and you will see the following connection options when you click on the Tunnelblick icon
Once installation is complete, this is where you will connect on a daily basis
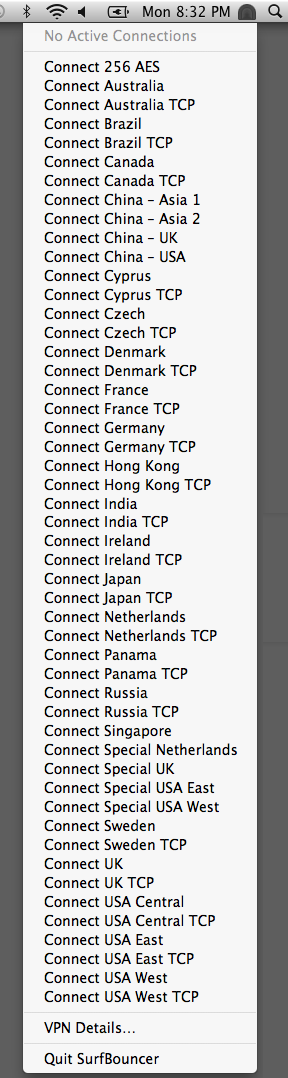
Note: The locations listed above are for the full Personal VPN service. If you are using one of the Lite VPN service products then the options will match the services for that product.
6) Select one of the options above to log in (see a description of the various options at the bottom of the page)
Your Mac will ask for your Mac user name and password to allow Tunnelblick to connect (this will only occur the first time or if there is a software update for any given connection)
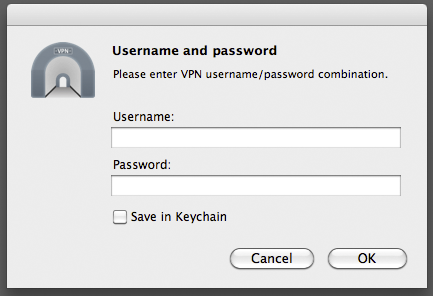
Next it will ask for your SurfBouncer user name and password
If you do not want to keep re-entering your user credentials, check the ‘Save In Keychain’ box to save it
The Tunnelblick icon will flash while it is connecting
You are connected when it turns from gray to white
![]()
IMPORTANT: Always log out from your current connection in Tunnelblick before trying to switch to a different connection
Having more than one connection active at a time will result in disconnects and poor performance
When looking at the Tunnelblick drop down, make sure only your current connection has a check mark next to it
Logs:
When requesting support for a VPN issue please send a log as shown on this page to facilitate a faster solution
Connection options:
After installation and launching Tunnelblick, you will see these default connection options:
The server names reflect the country that the server is located in
Connecting to that server will provide an IP address in the country or region you select
USA East – USA Central – USA West
Canada – Cyprus – Germany – Hong Kong
India – Ireland – Japan – Brazil – Denmark
Czech – France – Russia – Sweden – UK
Netherlands – Panama – Singapore
Special UK – Special USA East – Special USA West- Special Netherlands (Special servers for areas that disrupt normal connections)
256 AES – (Special server that uses 256 bit AES encryption)
TCP Options – (Uses TCP protocol to bypass some firewall blocks in various countries. Use these when other connections are blocked or are slow)
If you have any issues or questions setting up Tunnelblick, unblocking web sites or connecting, please email us at support@surfbouncer.com