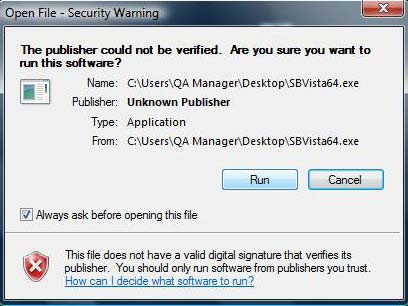
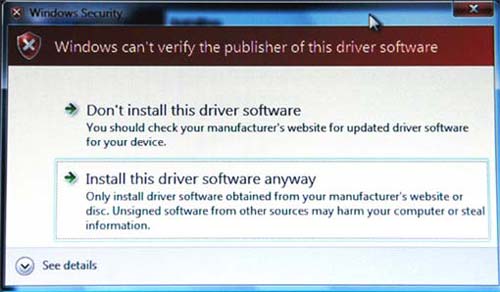
The OpenVPN software being installed is Open Source and widely available. It is used by numerous companies around the world as their VPN software. Because it is Open Source and free to use, it is not Microsoft verified.
Choose ‘Run’
Click ‘Next’

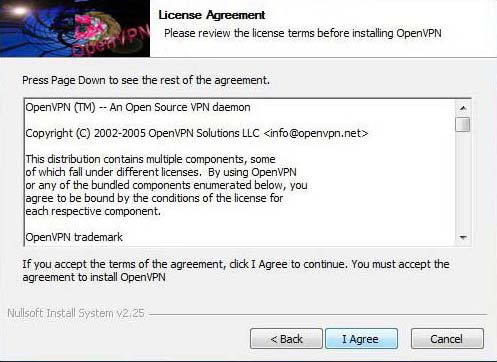
Agree to the terms of the Open Source license
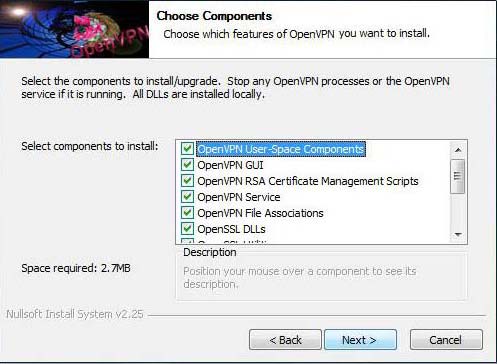
Keep the default components selected and click ‘Next’
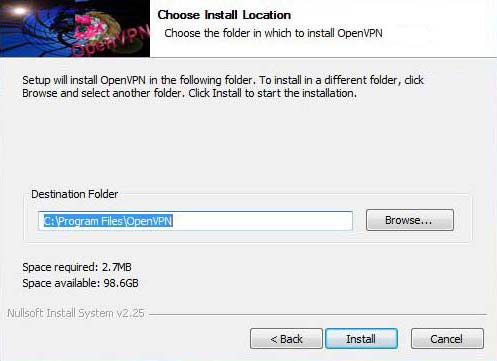
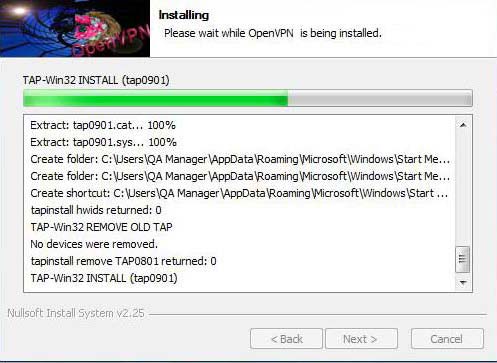
Keep the default install location so that future updates or configuration changes which we supply will install to the correct directory then click ‘Install’
The installation of the TAP driver will usually cause Windows to ask if you want to install it so select ‘Install this driver software anyway’ (the TAP driver is part of the OpenVPN package and is required for the VPN to operate)
Click ‘Next’
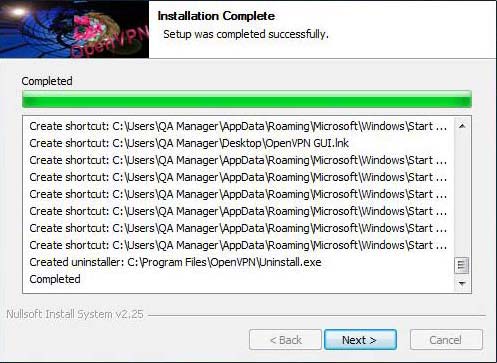
Installation is complete — click ‘Finish’ to wrap up
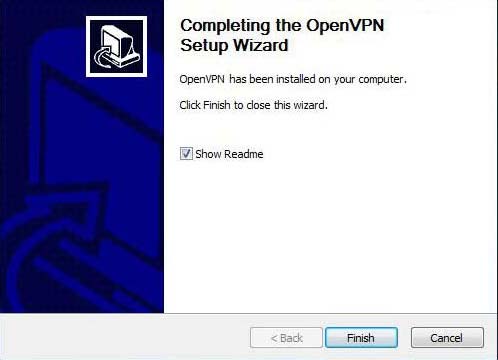
A read me file will pop up indicating successful installation of the software (not shown)
Return to Vista Setup Page
NOTE: The openVPN GUI does not automatically load as it does for the Windows XP version. This is to allow the user to be able to right-click and launch the program as administrator. Once this is done, the GUI icon will appear in the system tray as it does for the Windows XP version. Unless you have disabled the UAC as described on the Vista setup page, always right-click and ‘Run as Administrator’ when you launch the application.